
The most effective family voice archives combine lossless audio formats like WAV or FLAC at 24-bit/48kHz, standardized metadata, the 3-2-1 backup rule, and signed consent forms stored alongside every recording. Get those four pillars right from the start, and everything else, from folder structure to long-term playback, falls into place.
What separates a lasting archive from a hard drive full of forgotten audio files is intentional structure. Families who treat their recordings the way archivists treat institutional collections, with controlled environments, consistent naming, and documented context, end up with something genuinely retrievable decades later. Those who don't usually discover the gaps only when it's too late to fill them.
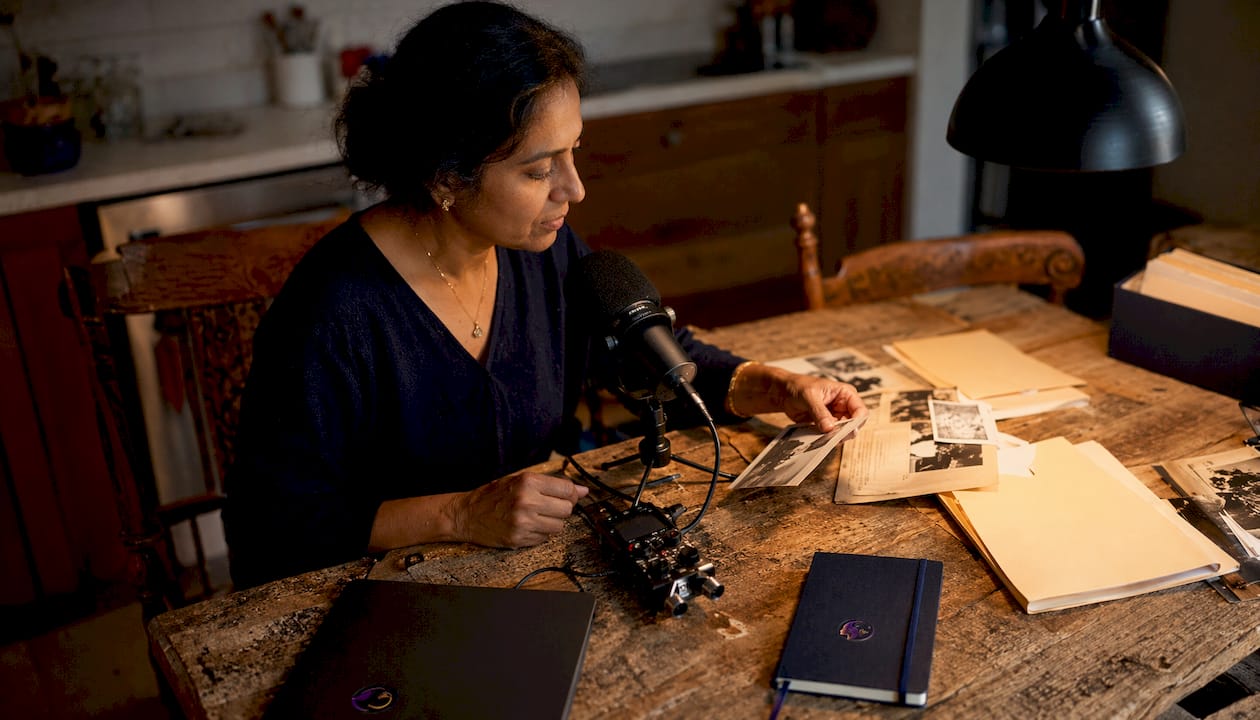
Family voice archive best practices: the core framework
A well-built family voice archive rests on eight non-negotiable practices. Follow these before you record a single word.
- Record in lossless formats. Use WAV or FLAC at 24-bit/48kHz for all master files. MP3 and AAC compress audio in ways that can't be undone, and quality lost now is quality lost forever.
- Apply standardized metadata. Every file needs a title, date, participant names, location, and a brief summary. Embedded tags and sidecar JSON files together give you two layers of searchability.
- Follow the 3-2-1 backup rule. Three copies, two different media types, one stored offsite. A home NAS, an encrypted cloud vault, and a cold-storage USB drive cover all three legs.
- Attach contextual stories. Raw audio without context ages poorly. Pair every recording with a written description explaining who is speaking, why the story matters, and what was happening in the family at the time.
- Secure consent before you record. Signed release forms stored digitally alongside the audio protect everyone involved and clarify how recordings may be shared or published.
- Control the storage environment. Physical media, printed transcripts, and photographs belong in acid-free containers at roughly 50% relative humidity, away from sunlight and moisture.
- Verify integrity on a schedule. File formats become obsolete. Check your archive at least once a year, migrate formats when needed, and confirm that checksums match.
- Assign roles to contributors. One person records, another transcribes, a third manages metadata. Splitting the work by strength keeps the project moving and prevents any single person from becoming a bottleneck.
What a complete family voice archive should include
A thorough archive goes well beyond audio files. Think of it as a layered collection where each element reinforces the others.
- High-quality audio files with full transcripts. The recording is the heart of the archive, but a transcript makes it searchable and accessible to family members who are hard of hearing or simply prefer reading.
- Metadata for every entry. Names, dates, locations, relationships, and a short summary turn an unnamed audio file into a retrievable piece of family history.
- Related photographs, documents, and physical media. A recording of your grandmother describing her immigration story gains an entirely different weight when paired with her original passport or a photograph from that period.
- Legal consent forms and usage permissions. These clarify what can be shared publicly, what stays within the family, and what requires additional approval before redistribution.
- Structured organization with contextual descriptions. Folder hierarchies organized by family branch, decade, or theme make the archive navigable for someone who wasn't involved in building it.
- Accessible playback formats across devices. Keep a compressed MP3 or AAC copy alongside every lossless master so family members can listen on phones, tablets, or older computers without needing specialized software.
The Library of Congress recommends making multiple copies of photographs and documents and distributing them to relatives, both as a preservation strategy and as a way to spark conversations worth recording. That same logic applies directly to audio: sharing excerpts often surfaces new stories you hadn't thought to ask about.
How to plan your archive before you start recording
Planning before you press record saves hours of reorganization later. The families who skip this step usually end up with a folder called "Misc Recordings 2024" that nobody can navigate two years on.
- Define the scope and goals. Are you capturing one grandparent's life story, or building a multigenerational archive? A clear scope prevents the project from stalling under its own ambition.
- Identify key contributors and assign roles. The Library of Congress notes that matching participants to roles that suit their strengths, interviewer, curator, or transcriber, increases both engagement and archive quality. Don't assign roles based on who's available; assign them based on who's good at what.
- Build your naming and folder structure first. Decide on a convention like
YYYY-MM-DD_LastName_FirstName_Topicbefore any files exist. Retrofitting a naming system onto hundreds of files is miserable work. - Prepare consent and release forms. Draft these before the first session. A simple one-page form covering recording, storage, and sharing rights is enough for most family projects.
- Schedule recording sessions and backup routines. Put both on the calendar. Backups that depend on memory don't happen.
- Evaluate your recording setup. A quiet room, a directional microphone like the Shure MV7 or the Rode NT-USB Mini, and a pop filter will produce dramatically better audio than a phone held at arm's length. Test the setup before the real session.
Pro Tip: Record a short test clip in the actual room you plan to use, then listen back with headphones. HVAC hum, refrigerator noise, and room echo are almost invisible to the ear in the moment but obvious in playback.
How to organize and manage your digital files effectively
Good organization is what separates an archive from a backup. The goal is a structure that someone unfamiliar with the project could navigate on their own.
Use a hierarchical folder system built around family branches or themes, with a top-level split between master files and working copies. Masters are your lossless WAV or FLAC originals. Working copies are the compressed versions you share, edit, or upload. Never touch the masters.
- Standardize file names with dates and participant names.
2025-11-14_Kowalski_Helen_Childhood-Poland.wavtells you everything before you open the file. - Apply embedded metadata and sidecar JSON files. Embedded tags travel with the file; sidecar files give you a human-readable record that survives format migrations.
- Separate master files from working copies in distinct folders. Label them clearly:
/Masters/and/Working/. One accidental edit to a master is one too many. - Use a digital asset management tool or a simple NAS. For most families, a well-organized NAS paired with a cloud backup service like Backblaze B2 covers both local access and offsite redundancy.
- Maintain a version log for any edited files. Note what changed, when, and why. This matters most when multiple family members contribute edits over time.
For oral history projects, a flat folder structure almost always fails within the first year. Hierarchical organization by family branch, then by decade or topic, scales as the archive grows.
How to attach and preserve family stories within the archive
The audio recording captures the voice. The surrounding context captures the meaning. Both are necessary, and the context is usually what gets skipped.
Open-ended prompts produce far richer material than direct questions. "Tell me about the house you grew up in" generates a story. "Where did you grow up?" generates an address. The Library of Congress specifically recommends prompts framed as "Tell the story of..." because they invite narrative rather than facts.
- Record a brief introduction at the start of every session. State the speaker's full name, the date, the location, and the interviewer's name. This takes thirty seconds and saves enormous confusion later.
- Include transcripts with speaker labels and timestamps. A transcript labeled
[Helen, 00:04:22]is searchable in a way that audio alone never is. - Add contextual metadata explaining why a story matters. A note like "Helen describes leaving Kraków in 1952, two years after her father's death" gives future listeners the frame they need.
- Create curated highlights from longer recordings. A three-minute excerpt of the most compelling moment in a two-hour session is something family members will actually share and revisit.
- Store release forms digitally linked to each recording. A PDF of the signed consent form in the same folder as the audio file keeps legal context attached to the content it covers.
Pro Tip: Designate a "story ambassador" in your family, someone who actively shares excerpts at reunions, in group chats, or on private family platforms. Archives that get shared stay alive; archives that sit on a hard drive get forgotten.
Platforms like Senarra are built specifically for this kind of voice-based memory preservation, capturing conversations in a person's authentic voice so future generations can connect with them directly.
Privacy, security, and access controls for your archive
A family archive often contains sensitive material: health struggles, immigration status, family conflicts, financial hardship. Treating it with the same care you'd give a medical record isn't overcautious.
Obtain explicit consent before recording anyone, and store the signed form digitally alongside the audio. This isn't just ethical; it's the foundation of any archive that might eventually be shared beyond immediate family. For recordings involving minors, apply restricted access by default and revisit permissions when they reach adulthood.
- Use encrypted storage for all digital masters. An encrypted NAS and an encrypted cloud vault protect against both theft and unauthorized access.
- Implement tiered access levels. Some recordings are private (one person only), some are family-only, and some may eventually be made public. Define these tiers in your folder structure and document them.
- Consider redaction for sensitive content. If a recording contains information that could harm a living person, create a redacted working copy for general family access and restrict the unedited master.
- Review permissions annually. Family circumstances change. Someone who consented to broad sharing in 2020 may want restrictions by 2026. Build a review into your annual archive check.
The NIST Cybersecurity Framework offers a practical model for thinking about access controls, even for personal projects: identify what you have, protect it, detect unauthorized access, and have a recovery plan.
A practical checklist for building and maintaining your archive
Work through this list in order. Each step builds on the one before it.
- Choose and test your recording equipment. Confirm microphone quality, room acoustics, and software settings before any real session.
- Build your folder structure and naming convention. Create the hierarchy on your computer before any files exist.
- Prepare consent and metadata forms. Draft templates you can fill in quickly during or after each session.
- Record with a verbal introduction. Speaker name, date, location, interviewer name, every time.
- Back up original files immediately after recording. Apply the 3-2-1 rule before you do anything else with the file.
- Transcribe and review each recording. Use automated transcription tools like Otter.ai or Whisper to generate a draft, then review it manually to catch names, places, and nuance that AI misses.
- Add full metadata and contextual notes. Embed tags, complete the sidecar JSON file, and write a brief description of why the recording matters.
- Create a curated highlight or keepsake. Edit a short excerpt for sharing with the broader family.
- Verify file integrity and update formats annually. Run checksum verification on masters and migrate any files in formats that are becoming obsolete.
- Review and update access permissions. Confirm that consent forms are current and that access tiers still reflect everyone's wishes.
For families recording aging parents or relatives with memory loss, steps 1 through 5 become especially time-sensitive. The window for capturing certain stories can close faster than expected.
Archival science principles that make family voice archives last
The practices that keep institutional archives intact for centuries translate directly to family projects. The scale is different; the principles aren't.
Physical media storage follows a clear standard from the National Archives: keep materials at approximately 50% relative humidity in a stable environment, away from attics, basements, sunlight, and moisture. Fluctuating temperature and humidity cause more damage than consistently imperfect conditions. Use acid-free containers for printed transcripts, photographs, and physical documents.
When labeling physical items, the Smithsonian Institution Archives recommends a soft graphite pencil applied lightly to the back edge of photographs and documents. Pens and markers bleed through and accelerate deterioration; pencil can be corrected if information changes.
- Use WAV or FLAC masters. Compressed formats are fine for sharing but unsuitable for long-term preservation.
- Apply the 3-2-1 backup rule. Home NAS, encrypted cloud vault, offsite cold storage. All three, not two.
- Use open-ended storytelling prompts. "Tell the story of..." outperforms "What happened when..." every time.
- Review AI transcripts manually. Automated tools handle common names and standard speech well. They struggle with accents, nicknames, and family-specific references. A human pass catches what the algorithm misses.
- Embed detailed metadata. Title, date, participants, location, summary, and usage rights, all embedded in the file and duplicated in a sidecar document.
For families navigating grief or loss, resources like those offered through grief support programs can provide context and community around the process of preserving a loved one's voice and story.
Pro Tip: Schedule a 30-minute "archive check-in" every six months with whoever shares responsibility for the project. Put it on the calendar like a bill payment. Projects without scheduled maintenance drift into neglect.
Preserve your family's voice with Senarra
Every practice in this guide points toward the same goal: keeping the voices and stories of the people you love accessible long after the moment has passed. Senarra was built for exactly that. It captures conversations in a person's authentic voice, preserves them with AI-assisted memory tools, and makes them accessible through a memory line you can call whenever you want to hear them again.
Whether you're documenting ancestry stories for future generations or preserving the voice of someone you're already missing, Senarra gives those recordings a living, interactive form that a folder of WAV files simply can't replicate.
Key Takeaways
A lasting family voice archive requires lossless audio formats, consistent metadata, the 3-2-1 backup rule, and signed consent forms stored alongside every recording from day one.
| Point | Details |
|---|---|
| Use lossless audio formats | Record masters in WAV or FLAC at 24-bit/48kHz to preserve full audio quality for decades. |
| Apply the 3-2-1 backup rule | Keep three copies across two media types, with one copy stored offsite to prevent total loss. |
| Embed metadata on every file | Include title, date, participants, location, and usage rights in both embedded tags and a sidecar file. |
| Secure consent before recording | Store signed release forms digitally alongside each audio file for legal and ethical clarity. |
| Control physical storage conditions | Keep physical media and transcripts at approximately 50% relative humidity in acid-free containers, away from sunlight. |